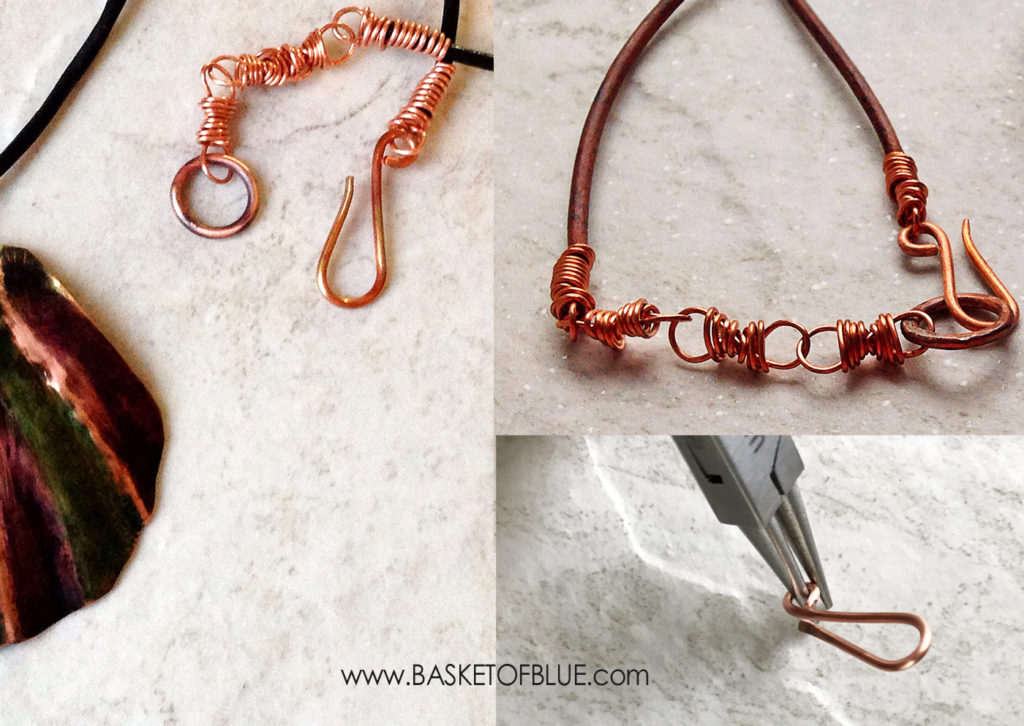
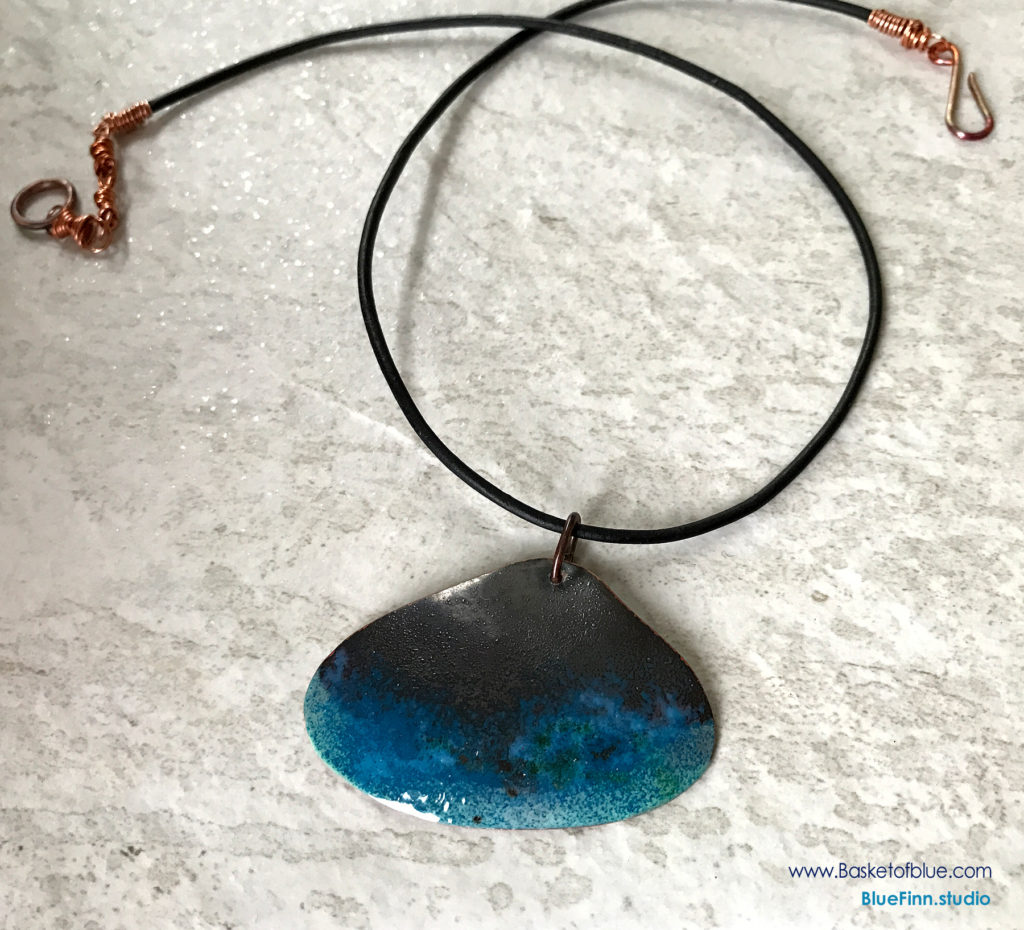
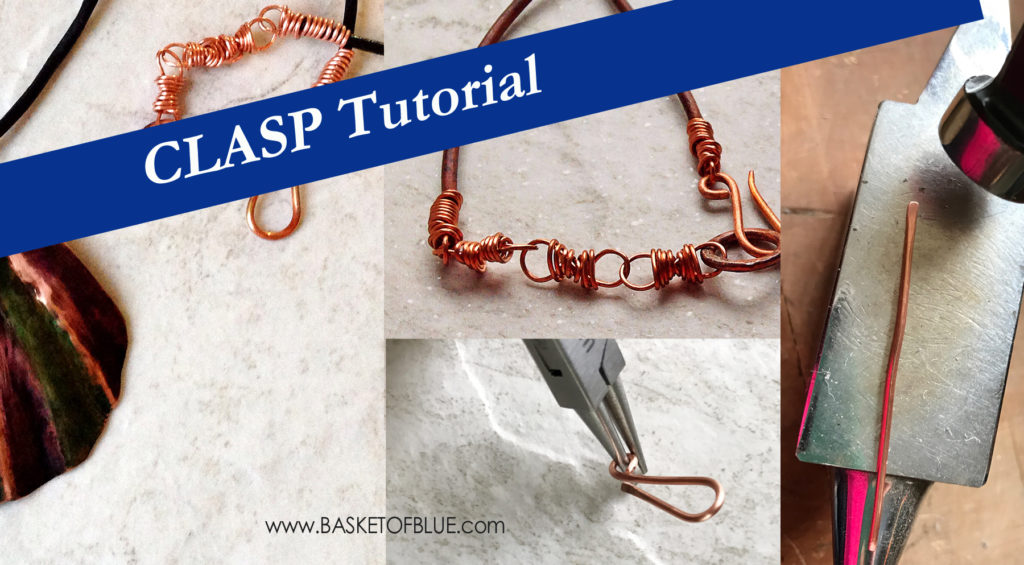
Clasps can be expensive to buy, especially if they are pure metal (not plated). I like to use pure copper clasps in my copper based necklaces and bracelets, it just seems like the right thing to do. Here’s the simplest hook clasp tutorial, I use these all the time. Fast to make, and pure copper (you can also use silver or brass).
You will need a couple of common jewelry making tools, and of course your wire I usually use 14 or 16 gauge copper, but you can use whatever size you want. (If you are using thinner wire just hammer the finished clasp with a nylon hammer to harden it. Especially if you used soft temper copper wire. It’s easy to test, just pull on the clasp hook part to see if it’s sturdy enough.)
What you need:
round nose pliers
hammering surface (steel block)
hammer (gently domed works good)
wire cutter, ruler
sanding paper or a tool (dremel, lathe, etc.)
Step 1 – Cut Your Wire
Start with cutting a length of wire that fits the size of clasp you want to make. I use about 2″ for a medium size clasp. Straighten the wire the best you can. (With your fingers or try a rubber or nylon hammer.) (1)
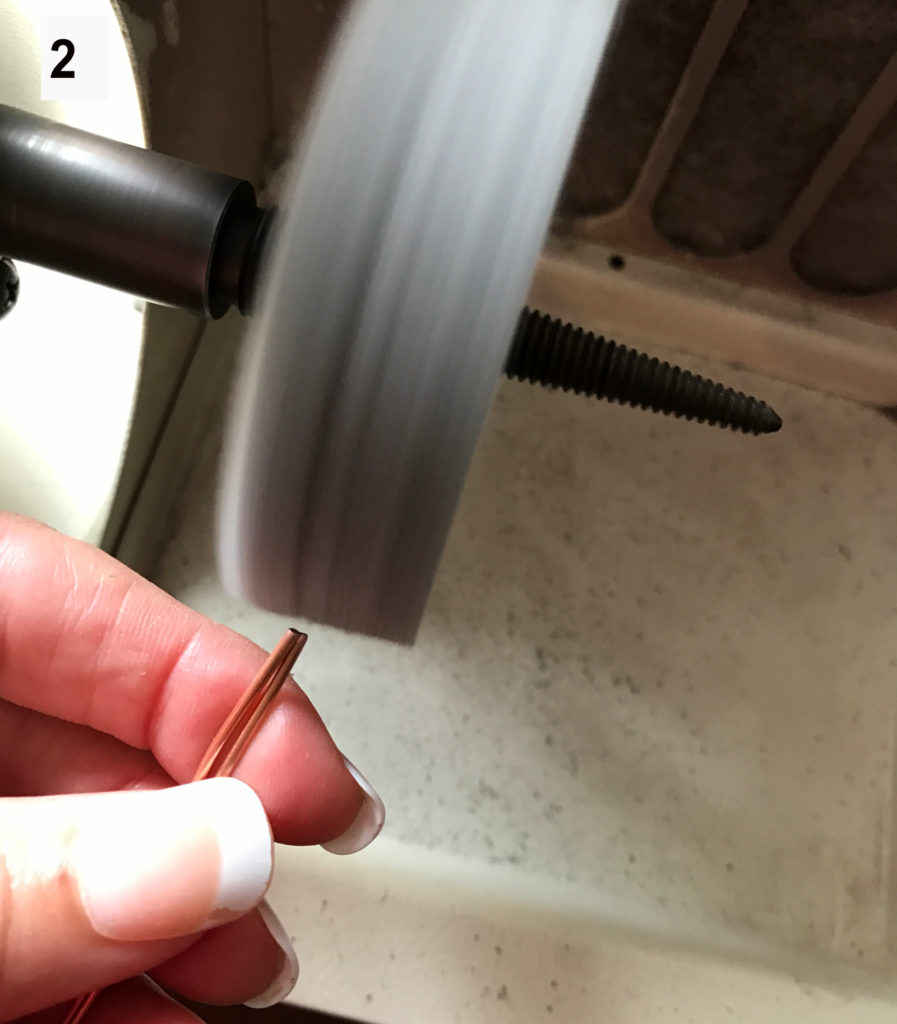
Step 2 – Smooth the Ends of the Wire
Smooth the ends of your wire with sandpaper (or file), or use your preferred tool. In the picture I use a lathe with an abrasive wheel. (2)
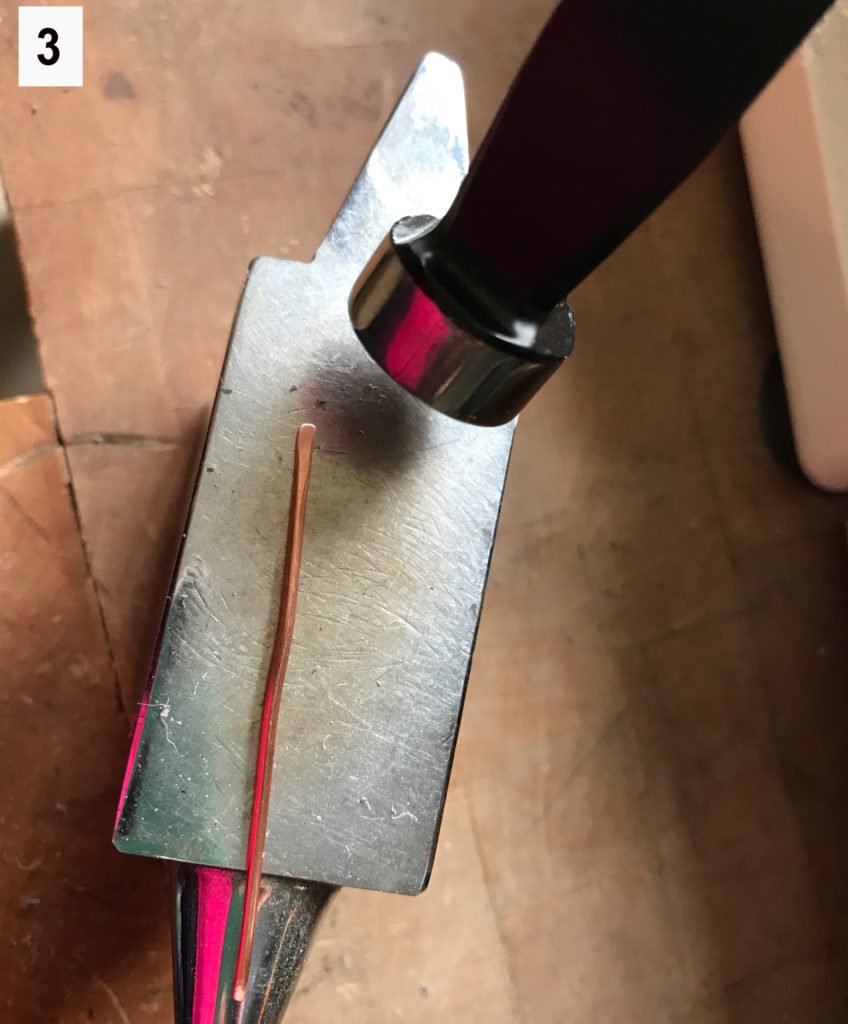
Step 3 – Flatten End of Wire Clasp
Flatten one end of the copper wire using your block and a hammer. You will want to sand it again to make sure it is smooth. (3)
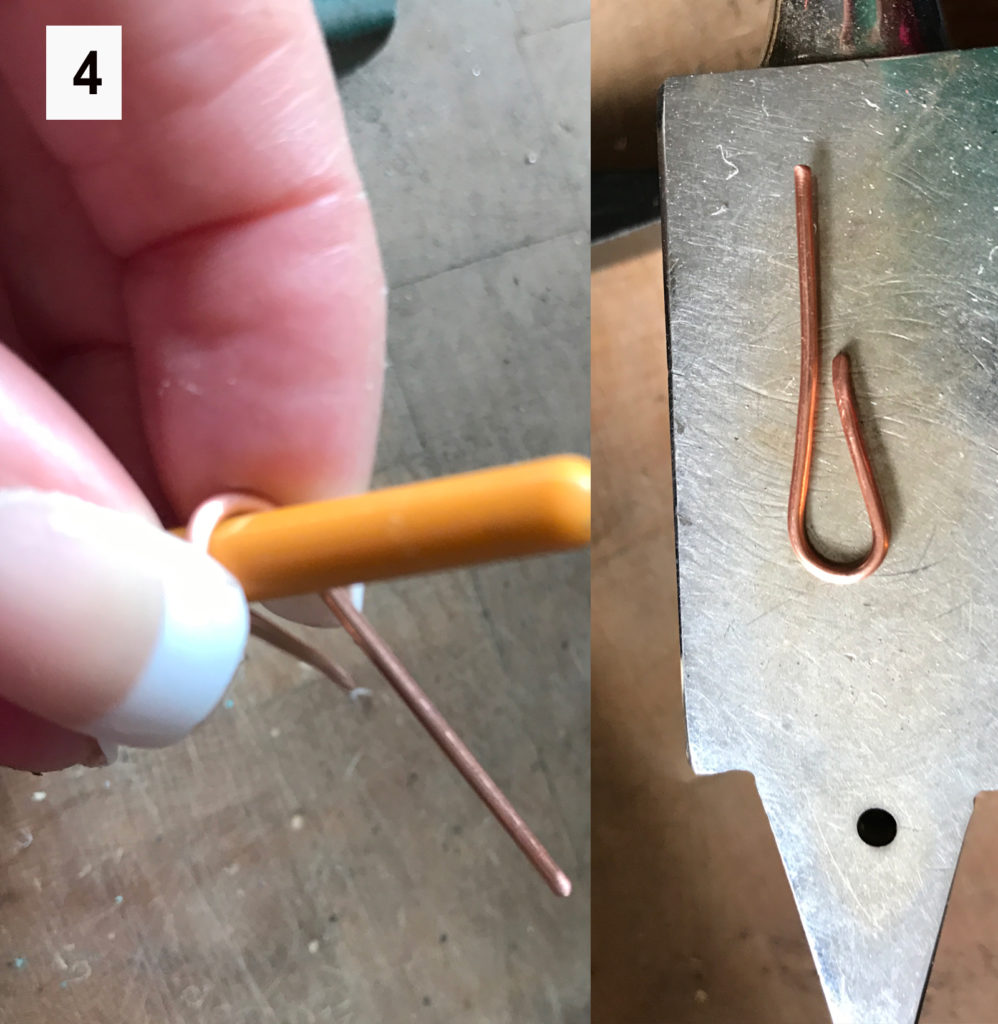
Step 4 – Bend the Hook to the Clasp
Use a dowel, pencil or paintbrush handle to make a loop. (really anything with a rounded shape that is the size you want works!) (4)
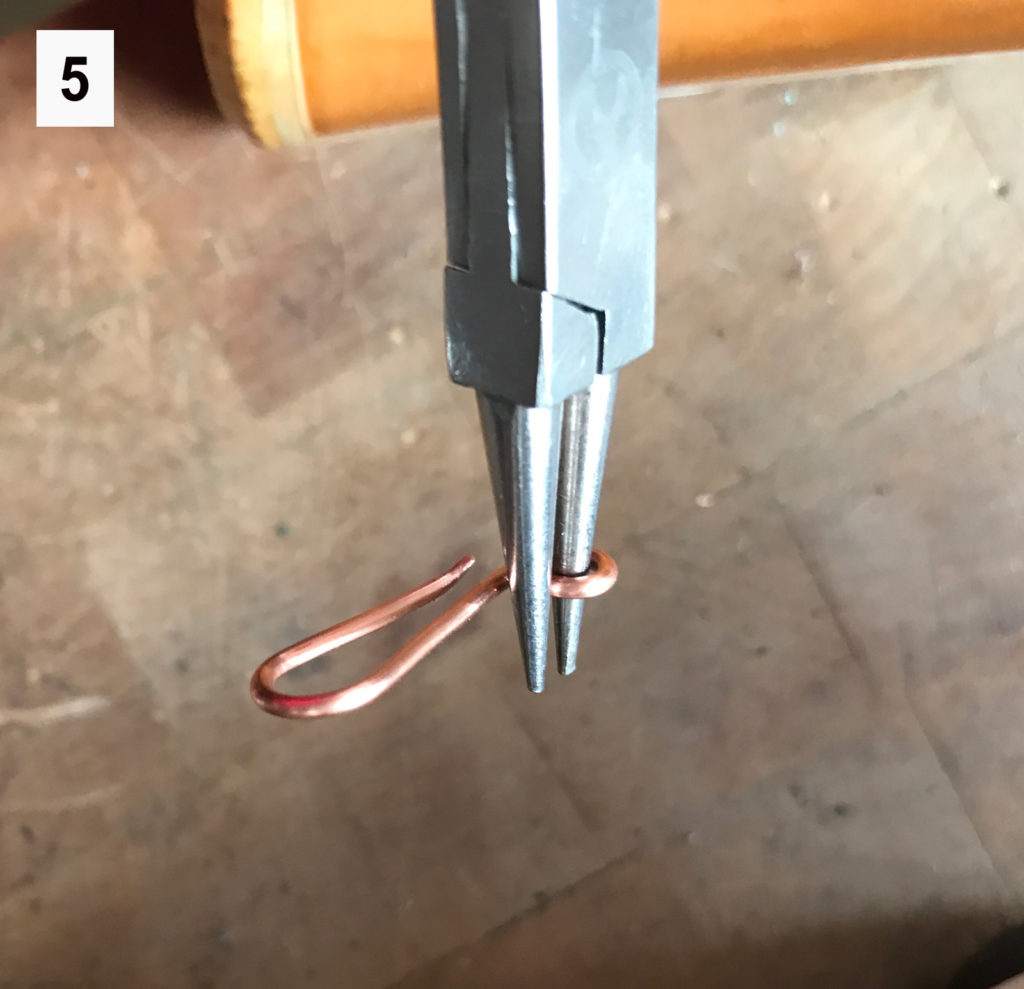
Step 5 – Make the Final Loop
Make a loop in the other end using your round nose pliers. The size is up to you, depending a little bit how you are going to attach the clasp to a section of chain or wire loop.
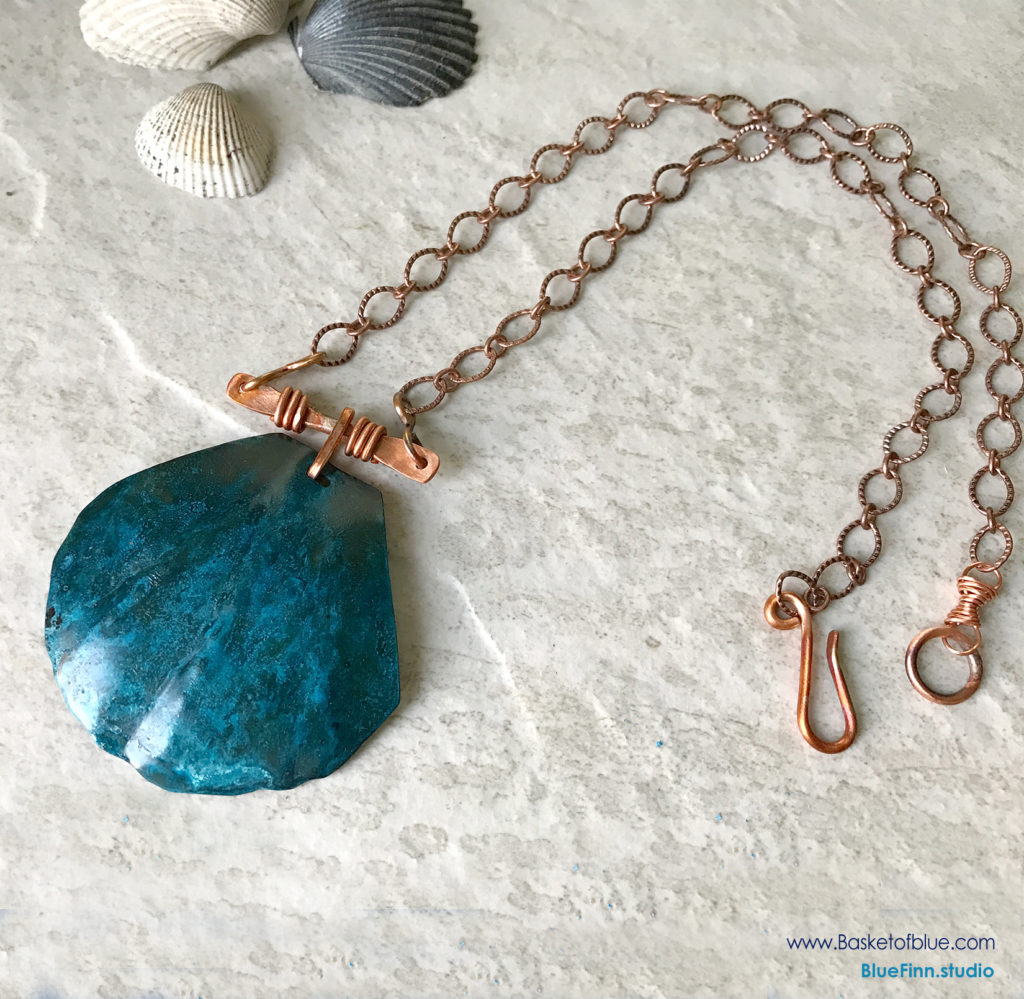
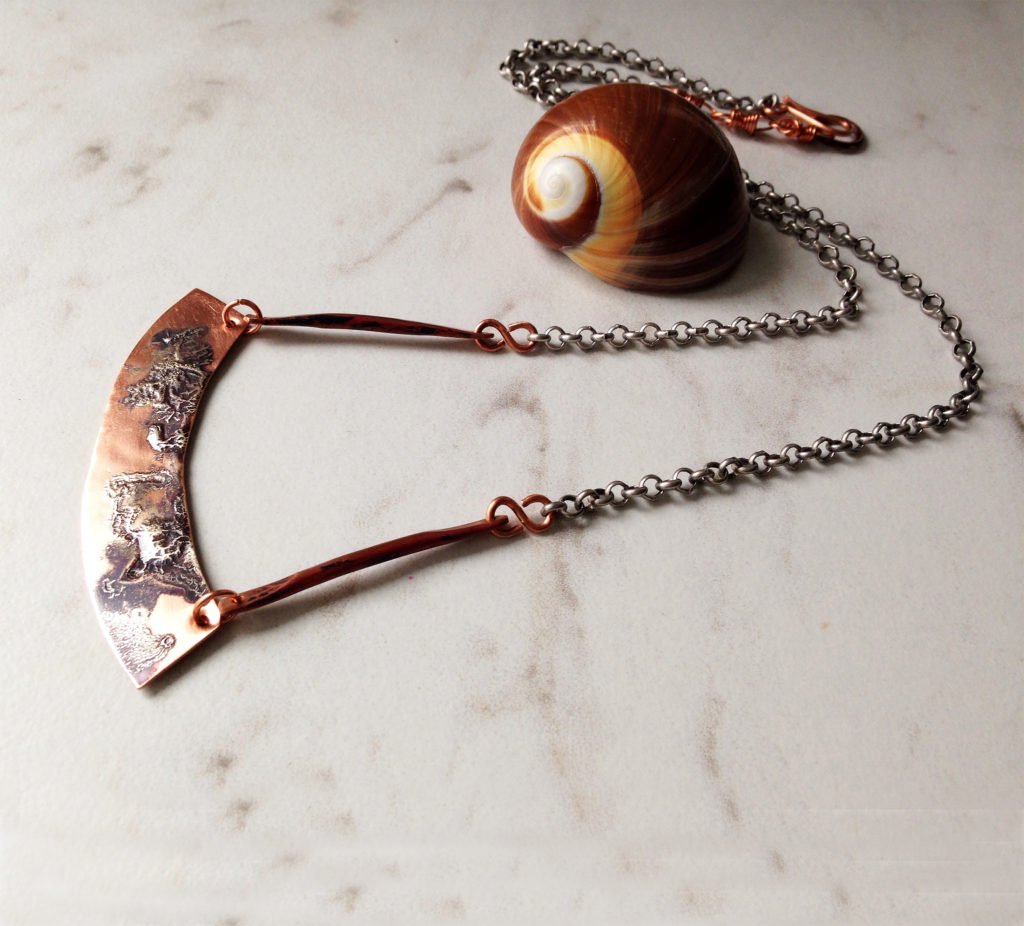
You may want to polish your clasp again to remove any dents. I also sometimes flame them for a little color, but that’s up to you.
I hope you enjoy this hook clasp tutorial and will make many of these to use in your creations. I find this type very useful, economical and quick to make. And of course, it is pure metal, you don’t need to worry about the plating wearing off on you or your customer!