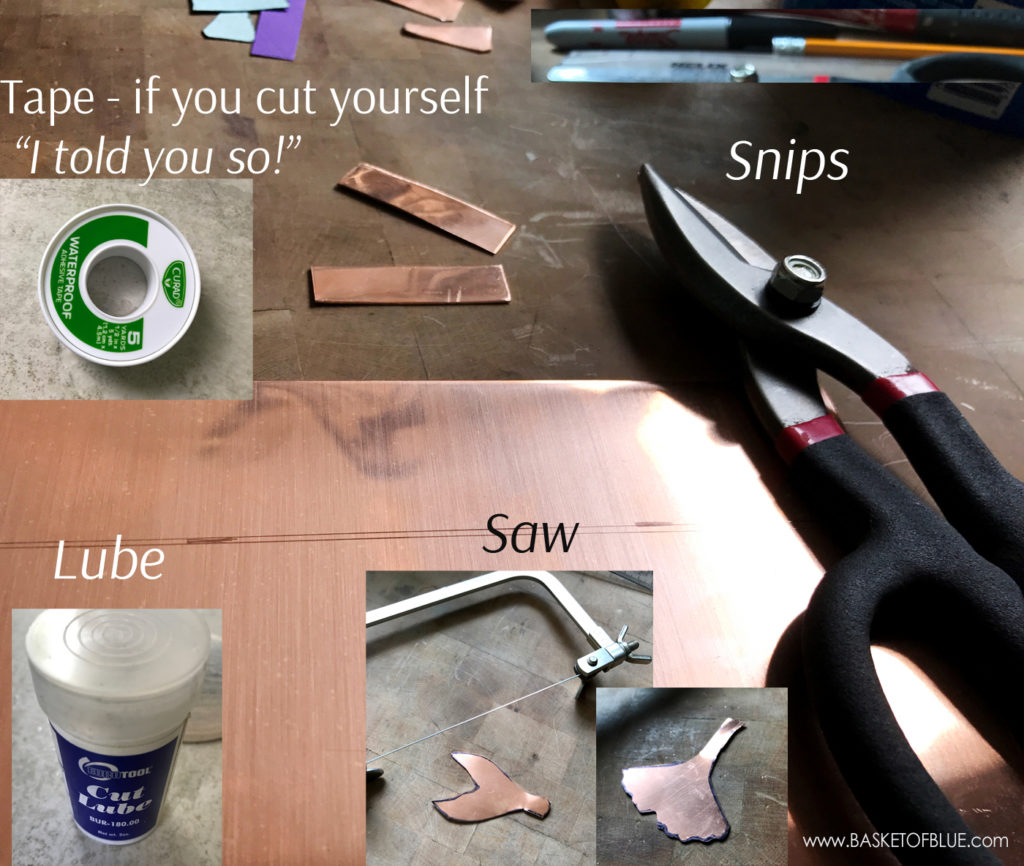
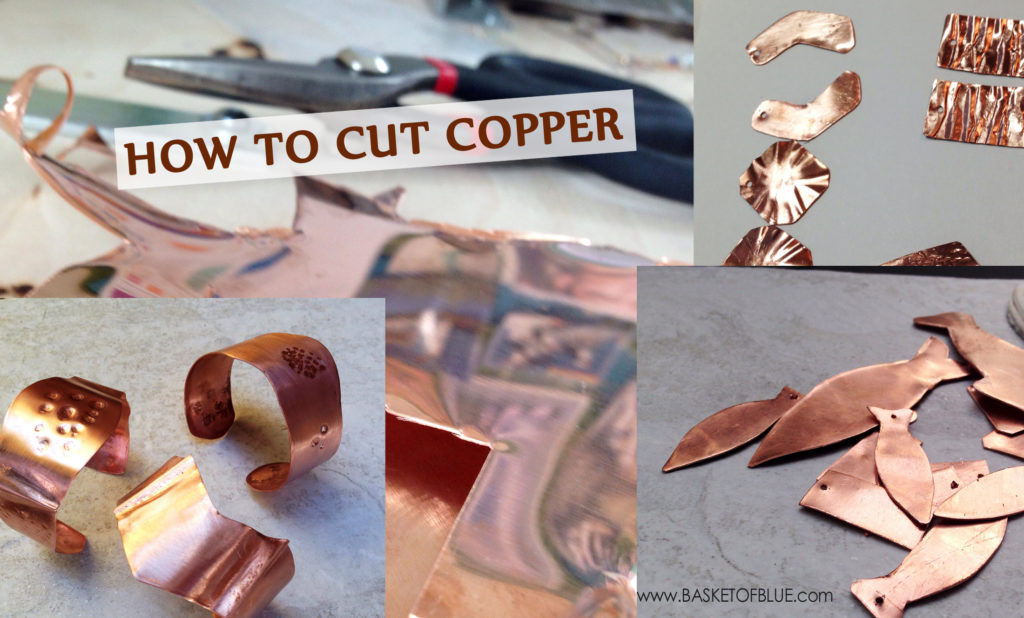
Cutting your own copper shapes can be easier than you think. For higher gauges (meaning thinner copper) you can easily do it with standard hardware store metal snips. They look like big scissors and work the same way. For thicker copper sheet you would want to use a jewelry saw, it’s a bit slower, but gives you a nicer finished cutting edge.
Where to Buy Copper Sheet?
You can find copper sheeting in some hardware stores – they often carry roofing copper that comes in big rolls and sell it buy the foot. The roofing copper is 26 or 24 gauge, which is great overall thickness that works for many jewelry projects. Almost all of my enameled copper earrings are 26 gauge copper. If your local hardware store doesn’t have it, you will find copper online on many websites. There are specialty copper outfits, but you can get the same stuff (and often cheaper) from Ebay, Etsy or Amazon.
How to Cut Copper
First I would recommend checking that your copper is relatively clean. If it came with tape on it, remove it carefully. If it has greasy stains (or other unidentified stuff) I would clean it first. You can use barkeepers powdered cleaner (Bon Ami is similar) or, if you want to go all natural, baking soda, lemon juice and dish liquid work pretty good.
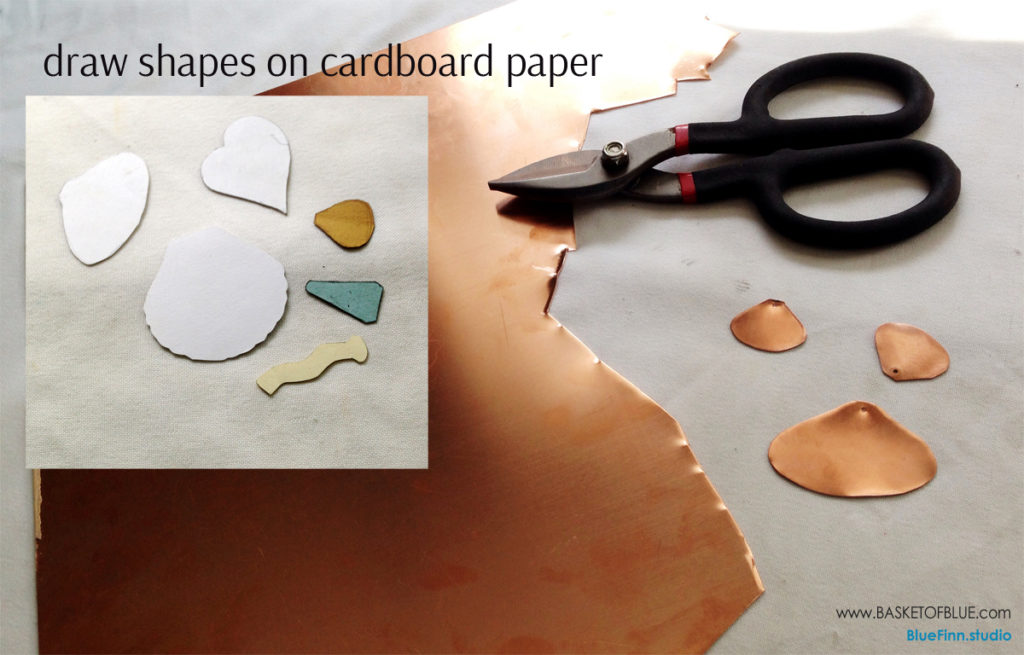
Draw your shapes you want to cut onto copper with pencil or a sharpie marker. Before you start cutting I would recommend taping couple of your major fingers. Copper is sharp and it’s easy to get cuts on your fingers. Then just start scissoring away!
Cutting with Snips
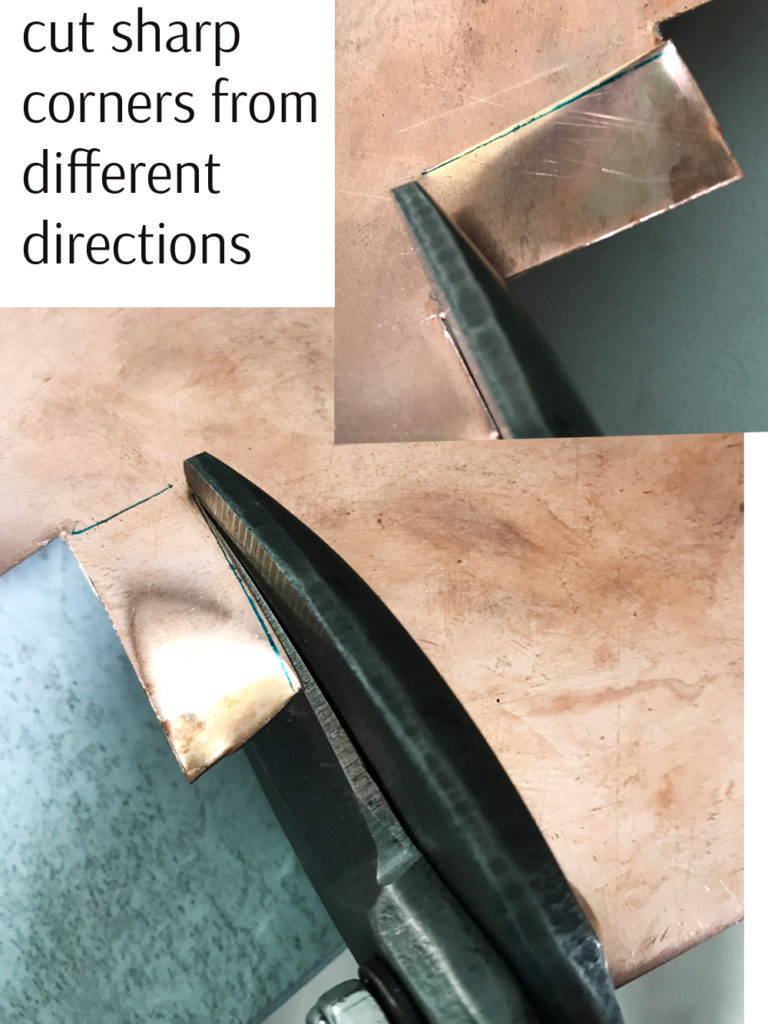
Snips work like scissors, try to keep them straight (perpendicular) to the copper. If you have to tilt them you will get a slight extra impression right next to your cut from the snip blade, because it will drag along the copper. You will have some extra sanding to do, but snips work so much faster than saw, and when you get good at it, even faster! Be creative and attack the copper from both directions depending what your shape is. Sometimes you need to first cut a smaller piece from the large sheet and then start on your shape.
Cutting Copper with Jewelry Saw
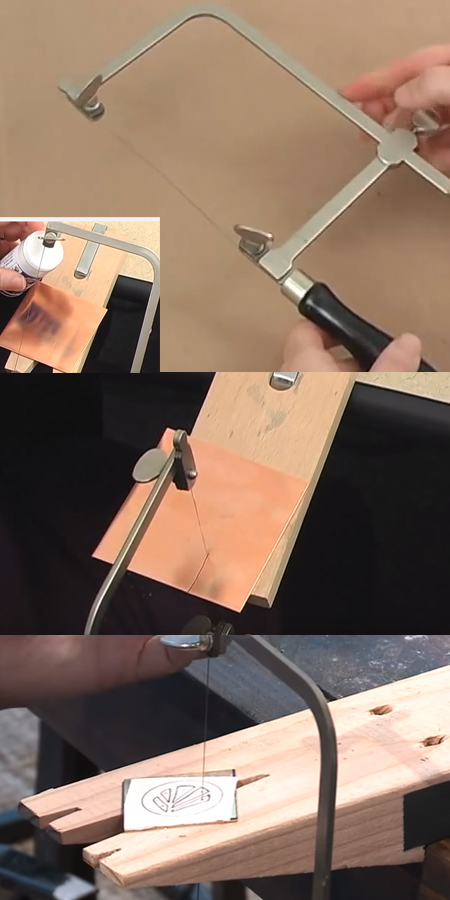
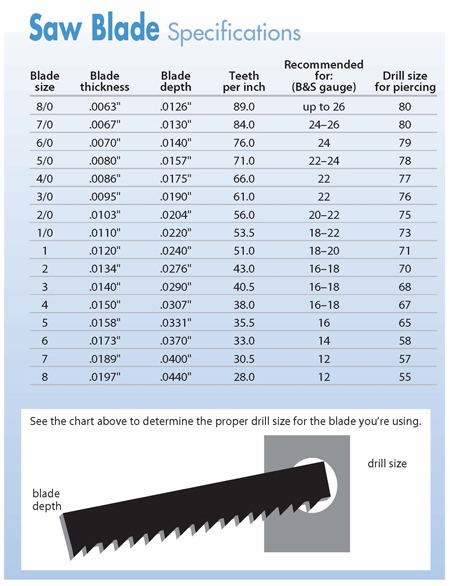
Jewelry saw gives you a more detailed, finer cut. You will also have to use it if your copper is thicker and the snips just won’t do it. If you have a very detailed shape, then use the saw even for thinner copper gauges. It takes a bit of practice and be prepared to have multiple saw blades (see chart below for recommended blade sizes). They can brake pretty easily, especially if you are a beginner. Use a cut lube for longer life span of blade. (here’s a short tutorial on how to insert saw blade into jewelry saw on youtube) Two tips with using the saw: keep the cutting blade straight up (so the blade is straight up and down perpendicular to the copper, or just mildly tilted forward) and keep a steady pace. If you rush and have to stop it can be tricky to get the saw going again while it’s stuck in the copper. Anticipate any turns in your shape – start turning your saw slowly while cutting before you are in the corner! And always with cutting metal, patience is a virtue.
After you have your copper shapes cut, then it’s onto drilling holes (if needed), sanding and buffing. Drill press is great, but all you need is a simple hole cutter. For manual sanding, standard sanding paper works fine – have several grits handy. (something like 220, 400 and 600). It is also good to have a set of metal files, a set from the hardware store will work just fine. I have used mine for years, never bought actual fancy jewelry files so far! Sanding machines are great, some regular table top belt sanders can work for jewelry, Dremel has some great sanding and polishing attachments, and then of course there are jewelry specific lathes and flex shafts when you want to invest in nice tools.
If you are a total beginner I would start with the snips and 24 or 26 gauge copper. The jewelry saw takes a bit of practice. The shape doesn’t have to be perfect, you can fix a lot of mistakes with metal files and sanding paper, all it takes is a bit of time! If you start your copper cutting career with tools that require more skill you will get frustrated and might even give up. Start simple and continue from there!
Charts for Copper Gauge and Saw Blade


can .5mm copper sheet be cut with a big scissors? no snipps at hand. I need to cut simple .25″ wide strips for contacts. solderable? punchable?
Thank you for your question. I’m wondering if you actually mean 5 MIL (.005 inches thick) 36 gauge? 0.5mm copper sheet would be 0.019685 inches thick (around 24 gauge) and snips would be recommended for cutting. I commonly use 24 and 26 gauge for making jewelry and enameling. (24 gauge makes a nice medium weight cuff bracelet, for example). There is a nice general guide on the basiccopper.com site on different gauges. If you mean the 5 mil copper, it is approximately 7 – 8 times thicker than typical household aluminum foil. It weighs approximately 3.74 ounces per square foot. 5 MIL copper is 36 gauge thickness. It does not tear by hand, but can be easily cut with scissors. It is extremely pliable and will dent with a light touch. The 5 mil is often used for craft projects as well as for various home improvement projects and construction, electrical, manufacturing and other applications. 24 – 26 gauge copper is very solderable. I have no experience with 36 gauge, I assume it will melt quickly. I have experimented with 30 gauge and that will get holes easily when heated with a torch because it is so thin, you would need to be careful with applying the heat. It can be enameled with a torch as long as you work quickly. Hope this helps!
What hole cutter do you recommend for making a small hole to put a jump ring through on 30 gauge copper sheet?
I generally use 1/16″ drill bit or the same size riveting tool to make holes. You can also get riveting pliers that are really good. It will of course depend on the size of jump ring you want to use (the gauge, thickness), 30 gauge copper is very thin, so you might go with something smaller.